The post is sponsored by Monrovia, but the content and opinions expressed here are my own. This post includes affiliate links which help support Autumn All Along.
We’ve been in our home for four years this summer. Our first two years, our yard looked amazing, and we really kept up with everything. However, our last two years have been very busy with traveling, my graduate school, and working; needless to say, our curb appeal did not improve during this time. We knew we needed to start picking up some outdoor projects around here.
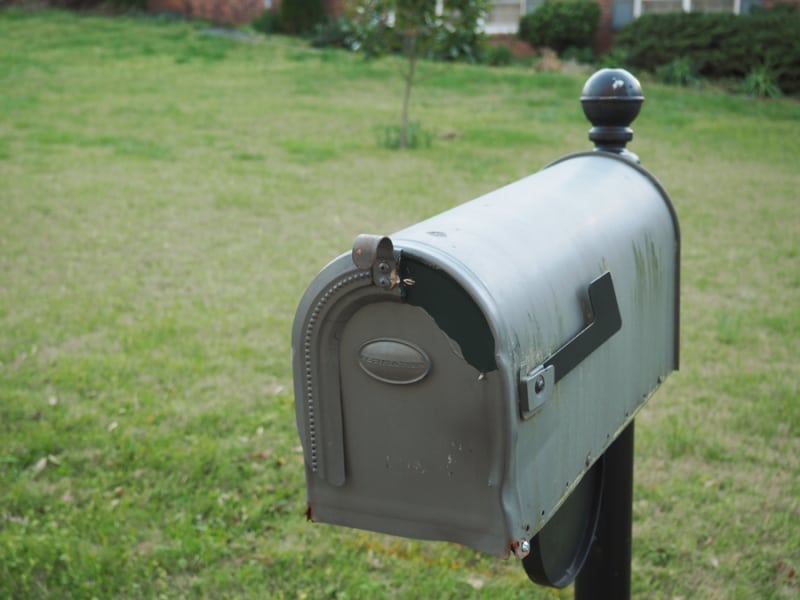
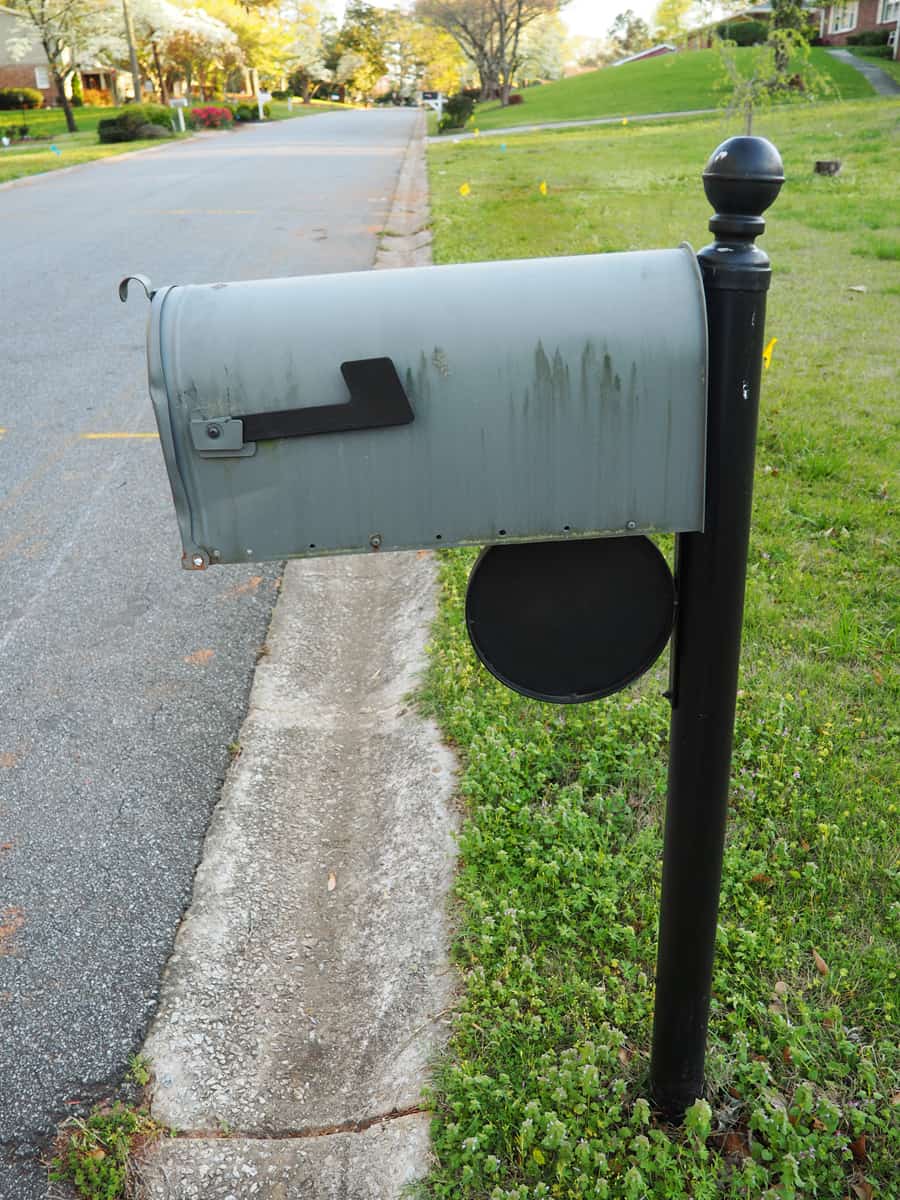
One of the things we’ve needed to do since we moved in was replace our mailbox. When someone hit our mailbox with their car after we moved in, our mailbox looked even worse off, and it became more than just a need: it was a priority. Our mail was often getting wet because the door would no longer stay shut and I had to be careful getting the mail with all of the exposed screws and nails on the exterior and interior. I think you can tell from the picture below… it was time.
Time needed for project
3-4 hours after research + paint time for mailbox post
Items used in this post
Beyond tools like shovel, and a drill we used paint and a paint roller. The following items are also items we found helpful:
- Tuff mailbox
Since our mailbox has been hit multiple times since we have moved here, we decided to buy a much sturdier one. We’ll see if this works or not, but I think because our mailbox looked so poorly before people didn’t feel like they needed to be as kind to it. - Cedar mailbox post
We debated on what kind of mailbox post we were going to get, but we went with what our neighbor’s had to blend into the neighborhood. - Monrovia plants
We love these plants and have found them very high quality. We used them for another project here.
Steps on how to boost your mailbox curb appeal
Evaluate your mailbox
While we were deciding on our new mailbox we figured out some steps that will help you decide what you need to do.
Look at mailboxes in your area.
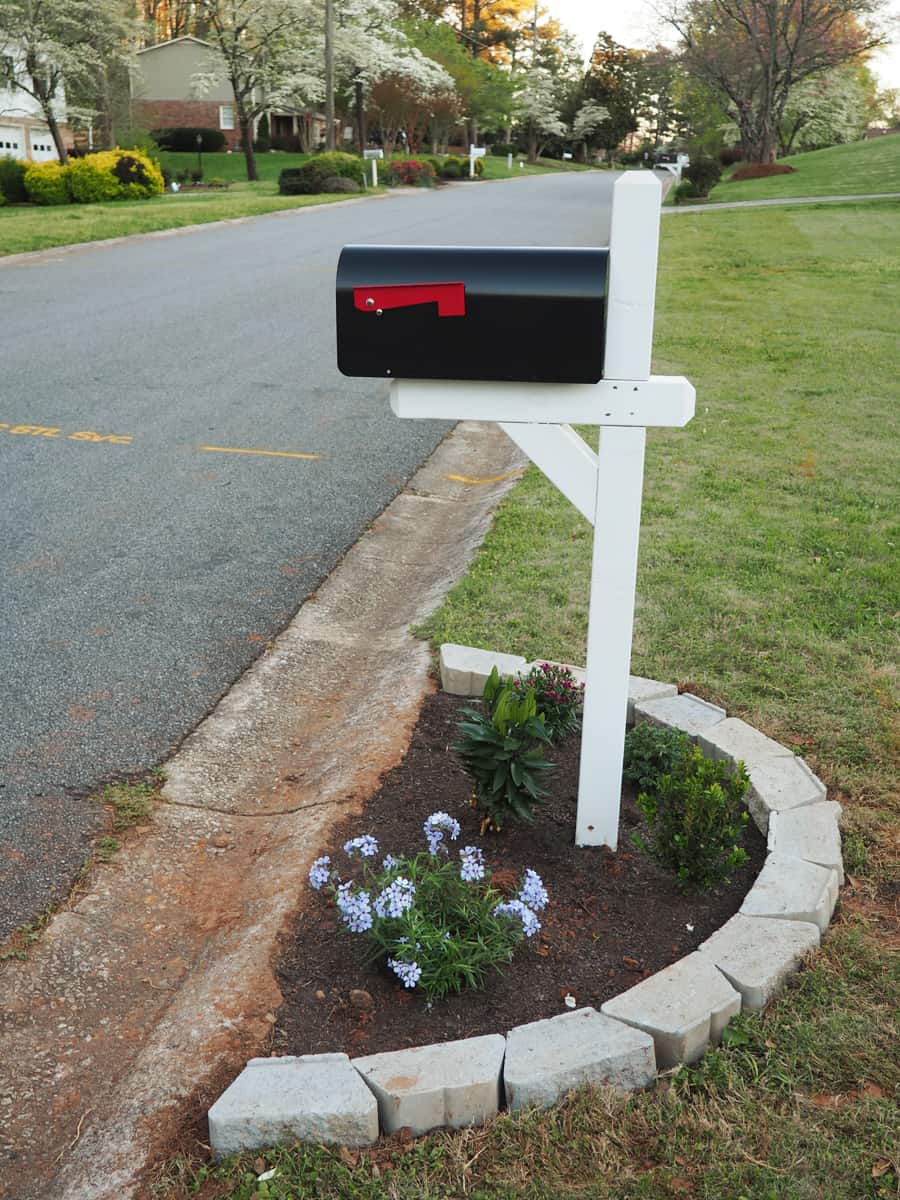
While this may seem “keeping up with the Jones”, I promise it isn’t. Originally, I thought I might want a white metal post with a white mailbox. After we drove around, we began to realize that it didn’t fit the look of mailboxes in our area and looked out of place. We found by driving around our neighborhood that a painted white wooden post with a black mailbox was most common.
Decide if your mailbox or post can be re-used
When we went to the hardware store we expected the mailbox and post to come together; however, most are sold separately. That means you can save money by re-using one or the other. Could you buy a new mail box and keep the post or vice versa? Would cleaning off grass stains or dirt make the post or mailbox look better? Could you paint yours to update it? In our case, our mailbox and post were both damaged. We decided to get new ones.
Should our mailbox be updated? Uhhh, yes.
Choose plants for your mailbox garden
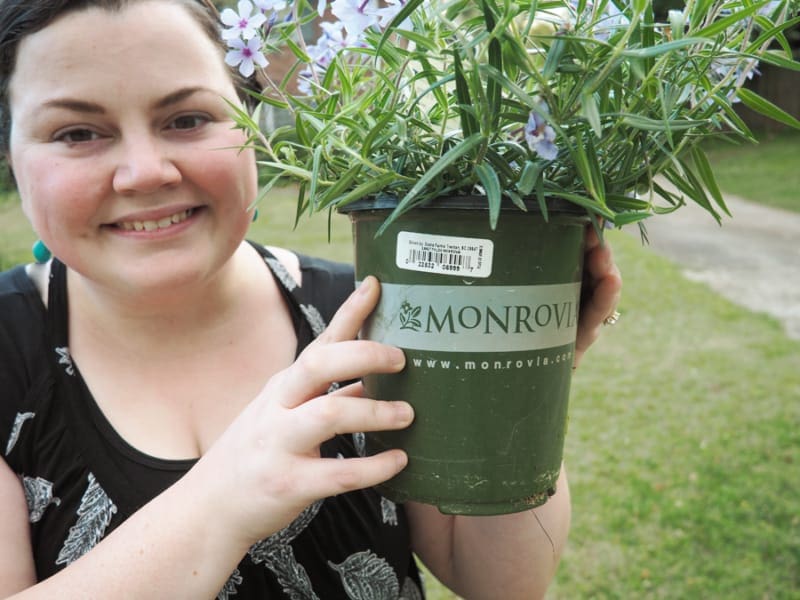
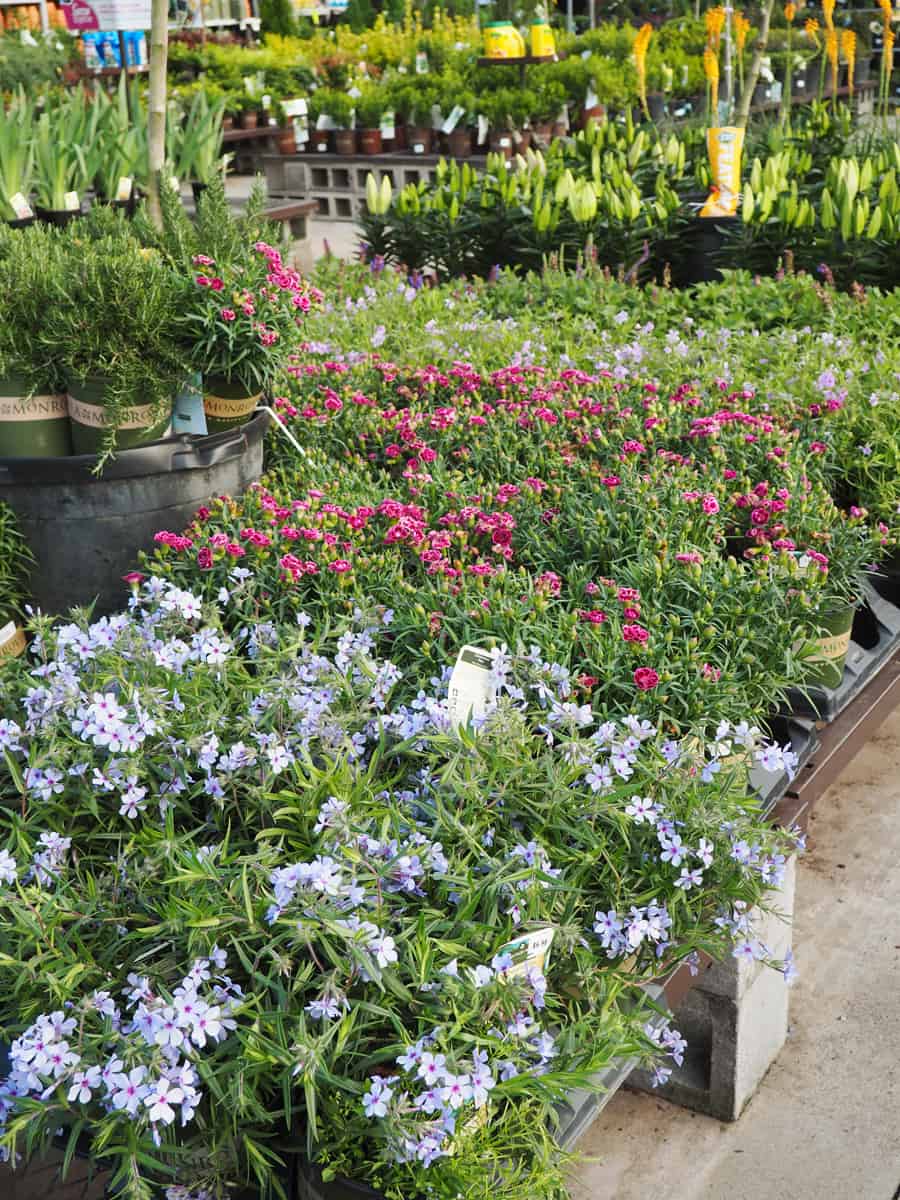
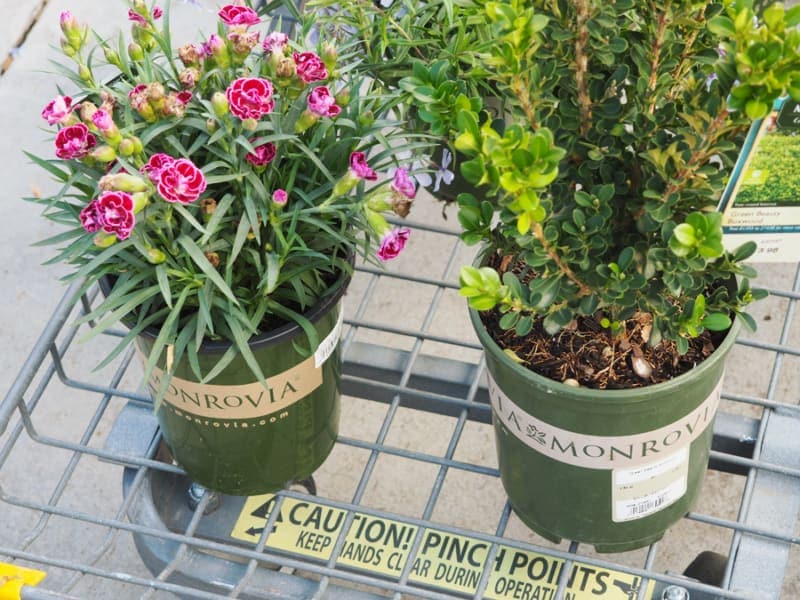
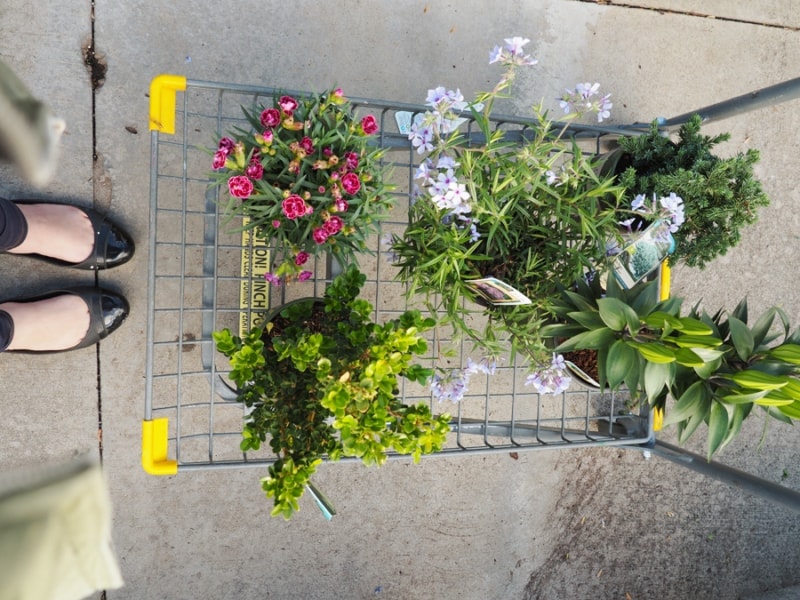
I chose plants exclusively from Monrovia plants that I found at Lowes (although, shipping is free from their website!). The plants looked great, and I absolutely loved that you could easily text numbers listed on the plants for more information! All of the Monrovia plants were extremely healthy and it was obvious that the company grows extremely high quality plants that will really thrive. I also love that Monrovia has great plant guides on their blog that I am definitely now subscribed to 🙂 .
A rule of thumb for creating a visually interesting garden space is usually:
- thriller (something exciting!)
- spiller (something that has an organic shape that will climb)
- filler (something that will cover the ground space)
As you’ll see with the plants I chose, I opted to not pick a spiller as I’ll probably add more flowers in the box so I have color year round.
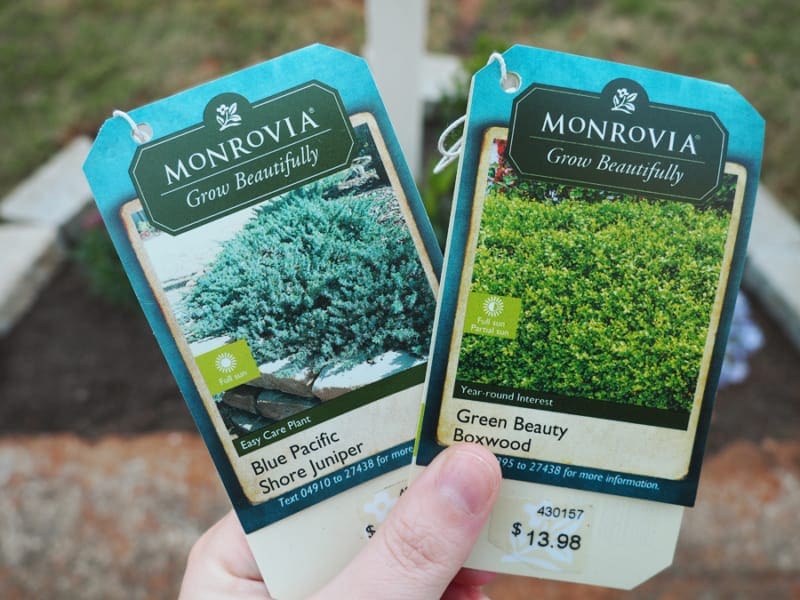
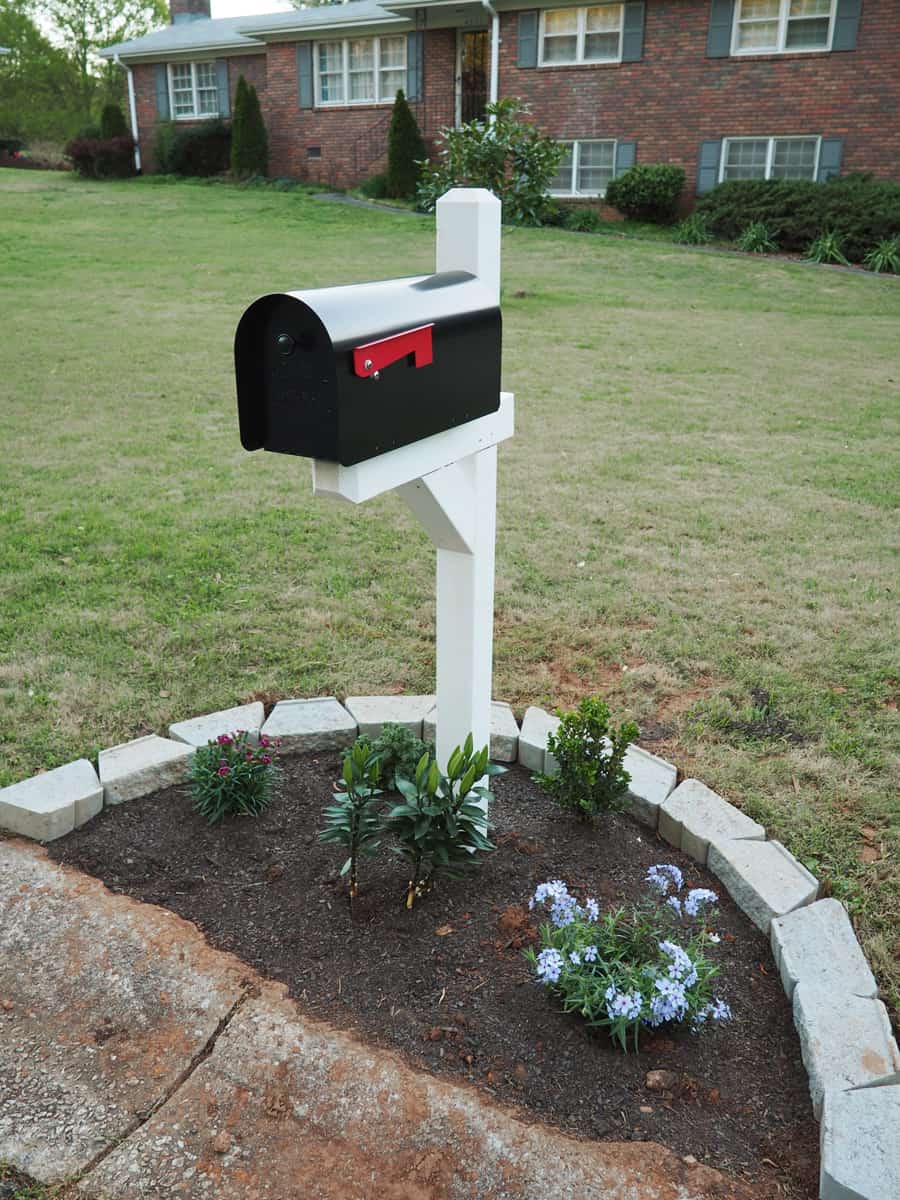
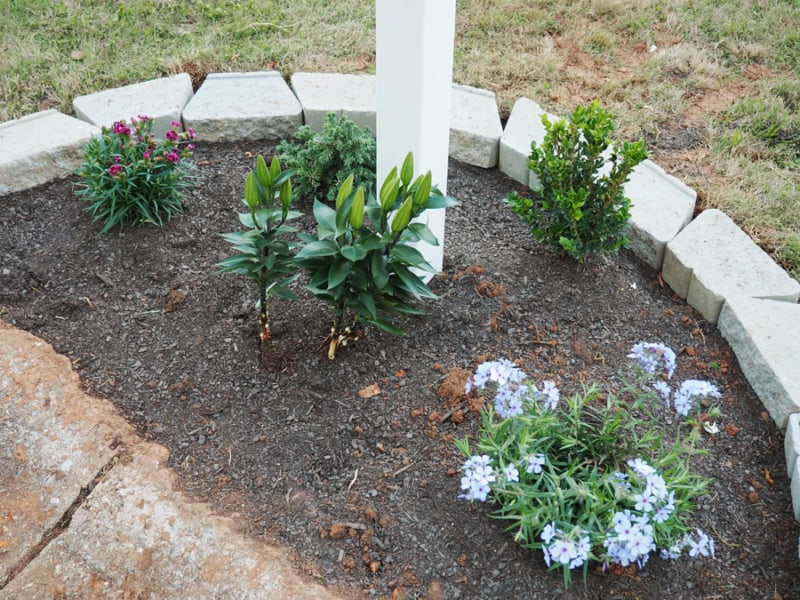
I chose Blue Pacific Shore Juniper and Green Beauty Boxwood shrubs both from Monrovia because they would be great at filling out the back of the mailbox. We also already have both plants in our front yard and I know they provide some shape year round when flowers aren’t in bloom.
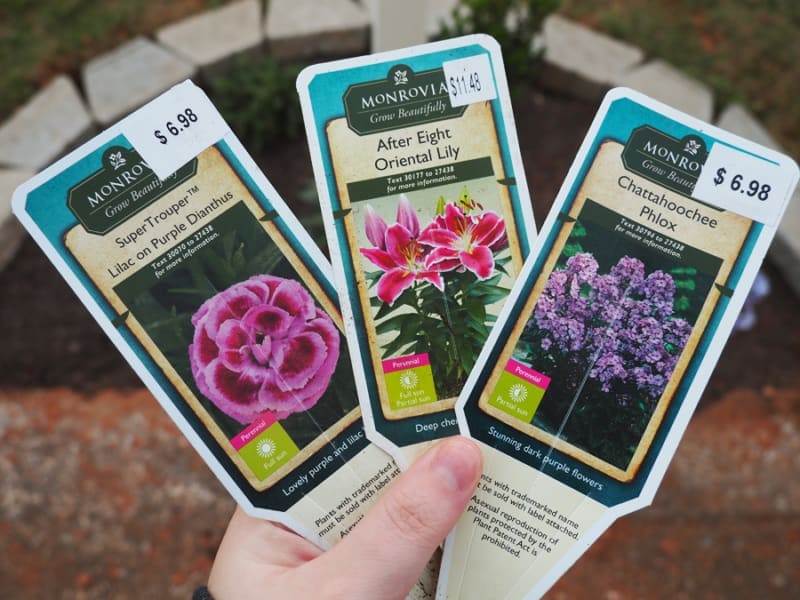
For flowers, I ended up picking out SuperTrouper Lilac on Purple Dianthus, After Eight Oriental Lily, and Chattahoochee Phlox all from Monrovia. We already have some lilies in our yard, so I know they do great- they are also my favorite because the blossoms are so huge! I’m really looking forward to seeing those lilies bloom!
Plan your garden
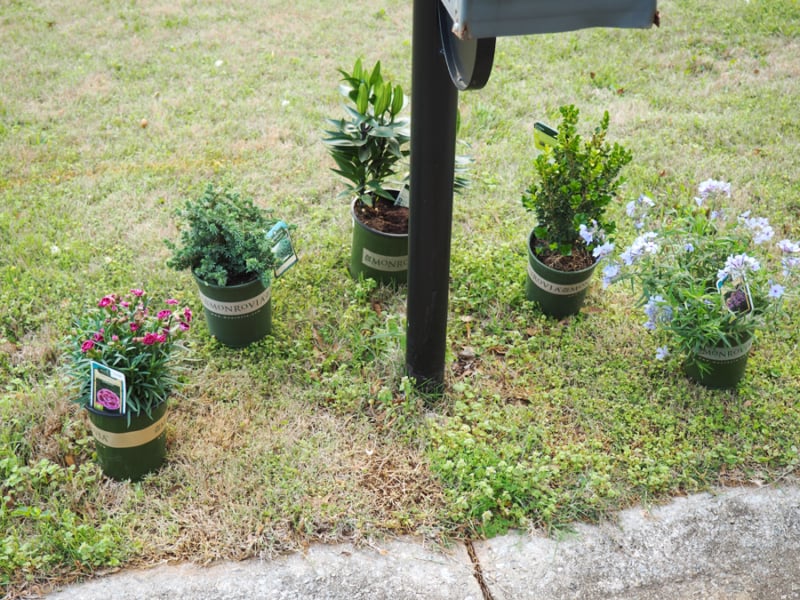
Place potted pants around the current mailbox
I’m a very visual person and this helped me to decide how much space I needed between my plants (give them some room to grow and follow the directions on the tag!) and how much space I needed for the border. Surprisingly, the hardest part about this was actually picking out the border bricks. I knew I wanted a lighter color that would match our concrete and something that had some texture. Since our house is very overwhelmingly red brick, I wanted a neutral border that would pop.
While the plans were laid out around the mailbox, I decided what kind of shape I wanted around my mailbox. We had talked and decided that we were going to do a half circle because we didn’t want the likelihood of running over our own mailbox garden when backing out of our driveway. If you are afraid of eyeballing the shape of your new garden bed with a shovel, you can tie a string to your mailbox and walk the circumference of your mailbox with the string taught while you dig.
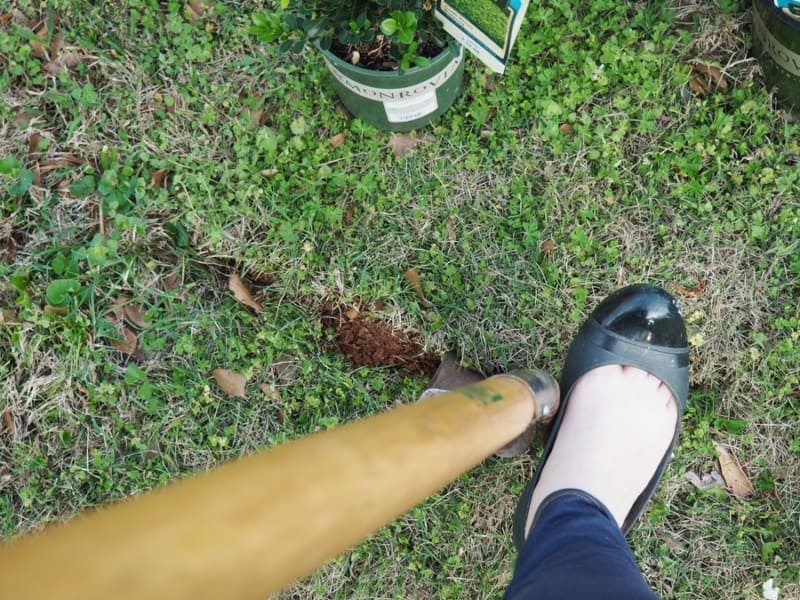
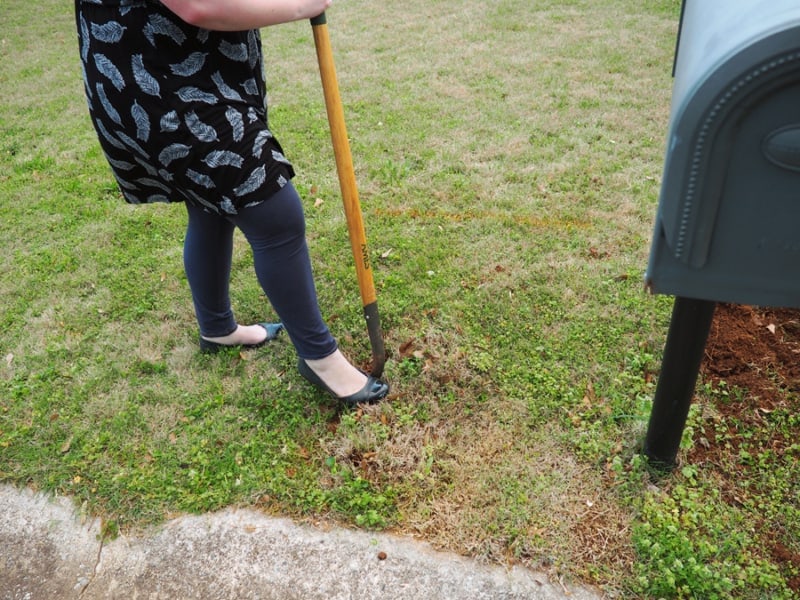
For me, I felt pretty confident I could eyeball where I wanted the garden to be, so I began shoveling. And yes, this is what I chose to do yard work in because leggings are always comfortable and despite what the shoes look like: they’re crocs that can be easily washed with the water hose!
As you can see in the photo above, after I put a circular pattern of holes for myself to follow in the yard, I picked up the potted plants and moved them to the side. When you’re digging out your garden, use the shovel to cut the grass into squares. This makes it easier to pick up the top layer of grass without making it too heavy. To be tidy, we put all of the grass we removed in a wheelbarrow so we didn’t create a mess in our front yard.
After you remove all of the grass from this space, dig a hole for your mailbox if you’re buying a new one. If you’re not buying a new mailbox, continue onto the FINISHING YOUR GARDEN section of this post 🙂 .
Completing a new mailbox
Find the style of mailbox you like
I mentioned a helpful tip was seeing what the neighbors had so your mailbox fits with the character of the neighborhood. We also found that we didn’t like mailboxes with a lot of decorative trim because it just wasn’t our preference. Be sure when you pick out your mailbox to see what kind of post it needs to attach with- for us, we chose a wooden post that we could dig and bury directly into the yard. A lot of metal and plastic posts require that you bury a wood pole and slide the post on.
Find what the coding ordinances are for mailboxes
I never thought of this, but my husband was on the job. I just planned on eyeballing it and just seeing where our mailbox should go height wise and distance from the road. According to USPS.com, the United States Postal Service recommends that mailboxes be 41-45 inches off of the road and 6-8 inches back from the curb.
Dig the hole and level your post
Dig a hole deep enough to place your post in. During the digging process, we found lots of goodies left behind at some point of our 50 year old home’s history: a cinder block, a chunk of concrete from a previous mailbox, and a lot of stones. Before we secured our post into the ground, Devin made sure it was level. Then we began to fill the hole with dirt. As we filled the hole, we used the top of the shovel to pack the dirt. Keep checking to make sure the post is level along the way and pack in more dirt as needed. When we saw the post actually up, we started to get VERY excited! 🙂 .
Attach the mailbox
After the post was secured, we attached the mailbox. This was a little harder than we initially thought because we opted to buy a larger mailbox, and the screw holes were wider than the post. We were lucky enough to find a piece of wood in our garage that we could place under the mailbox to attach to the post.
Place numbers on your mailbox
For safety reasons, I’m not posting a picture of this, but we picked out numbers and they were cute. Some people opt to just put numbers on the vertical post one way, but since I like to easily see house numbers when I am finding a house, I put it on both sides. Another option is to put numbers on the front instead of the sides of the post.
Finishing your garden
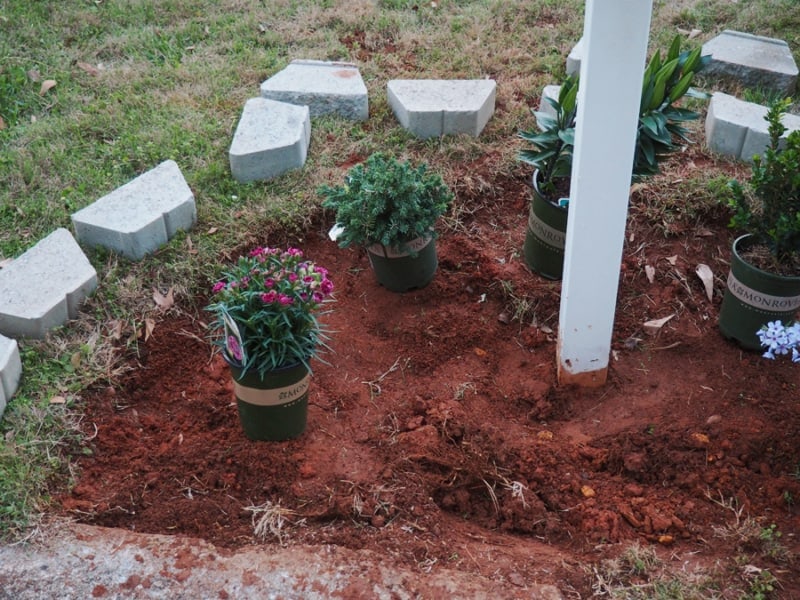
Place potted plants in the finished area to evaluate
By doing this, you’re able to see if you need to take more dirt or grass away as needed without the commitment of the plant already being out of the pot. In our case, we decided to widen the garden area a little bit more to better fit the border bricks and move the lilies in front of the post.
Place border around mailbox
After we were very confident everything was a good size and spacing for our plants, we began figuring out a pattern for the border bricks that were even on both sides.
Dig holes for the plants & place them!
Mound the excess dirt taken from the holes within your dug out portion of the area for easy filler dirt. After you have a sufficient hole for each plant, gently take the plants out of their containers and spread out the root systems to allow the plants room to breathe. They’ve been used to being cooped up in that spot and now they have some space!
Use garden soil
After placing the plants in the ground, we mixed in the black garden soil that we bought to pack the pants into the ground and make sure they were all secure. This helped too because it was more aesthetically pleasing than our red Georgia clay.
The most important step
Stand back and enjoy your new mailbox area in its full glory! I found myself texting pictures of our new mailbox area to family and looking out the window every few hours to see our mailbox. My favorite part was being able to check the mail for the first time with our new mailbox!
