I grew up with parents who had huge vegetable gardens. When we bought our first home three years ago, we knew that finding a yard where we could grow vegetables was a big priority for us! We’ve been picking vegetables out of our garden for the last three years and we’ve had varying levels of success. What we have found though? It is fun to be able to grow your own food! These are the tips we have found on how to start your first vegetable garden.
FIGURE OUT YOUR ZONE
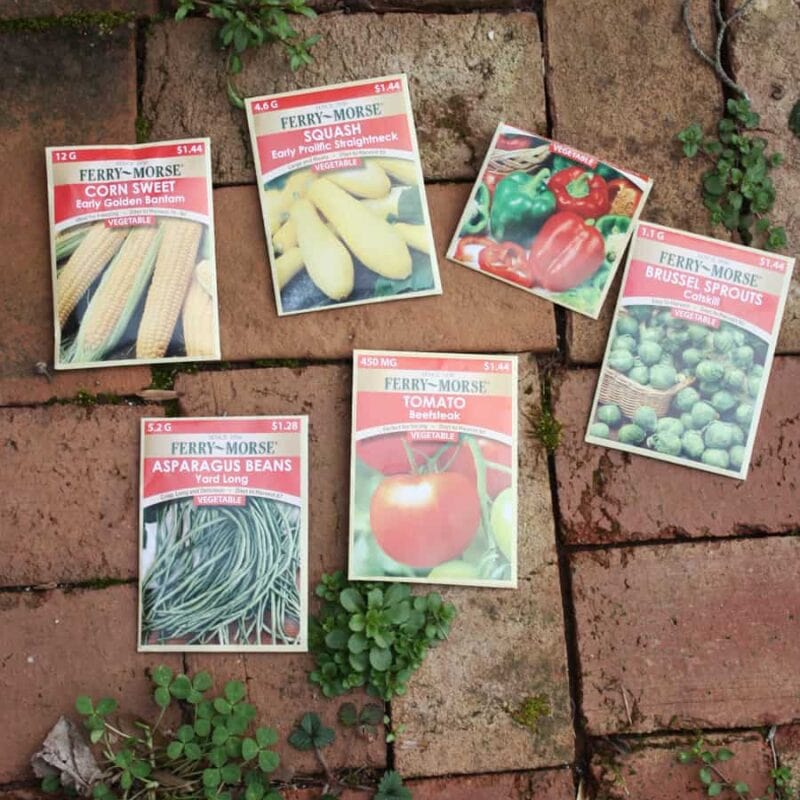
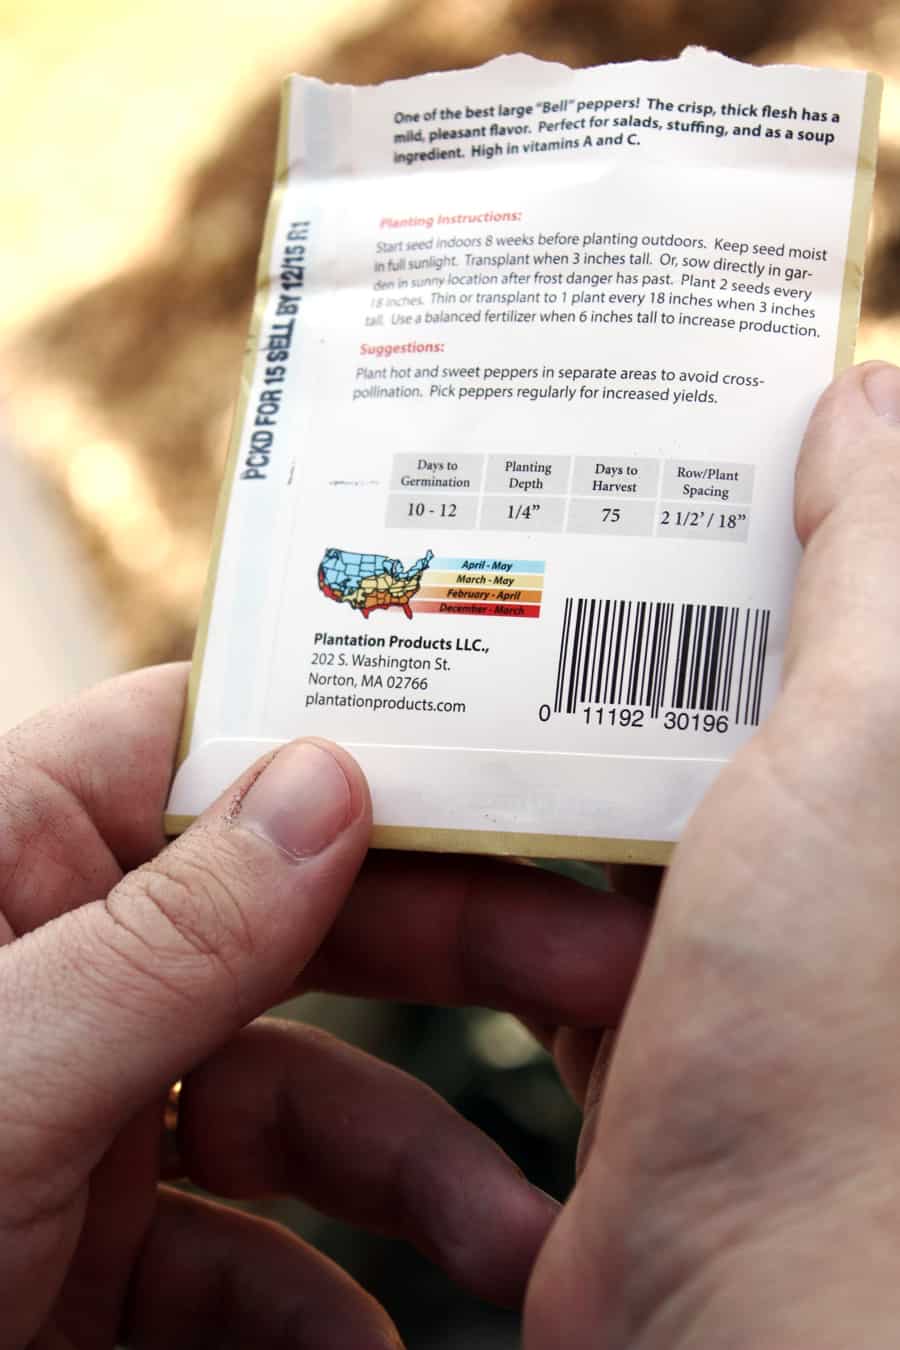
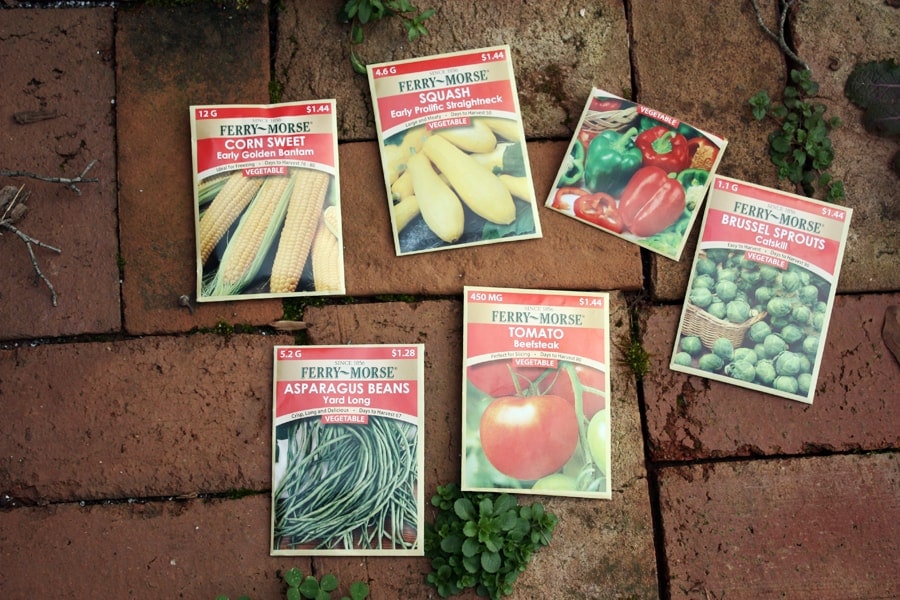
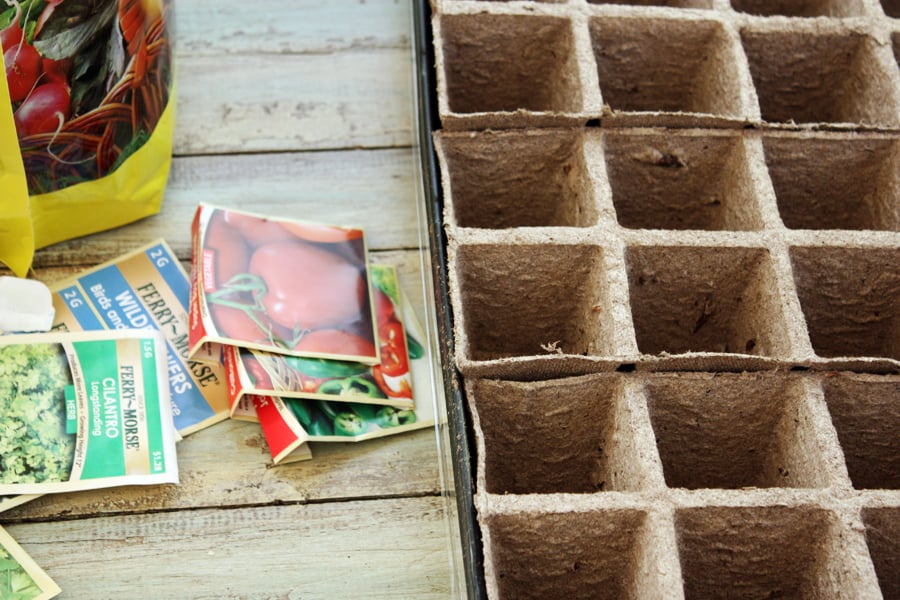
Different zones will produce certain plants better, but by knowing what zone you live in you will know what time to plant. By talking to friends and neighbors (and now through trial and error), we have found that we grow tomatoes, squash, peppers, and corn very well! We haven’t tried asparagus beans or brussell sprouts before this year, but we’re excited to try! This information is also easily found on the back of seed packages.
DECIDE IF YOU ARE PLANTING INDOORS OR OUTDOORS
Even though our zone on the seed packaging says we can go ahead and plant outdoors, Devin and myself like to start our vegetable plants indoors. Vegetables can be planted outside after the last frost of the season; however, Georgia weather is often unpredictable. If you do decide to plant your vegetables straight into the ground and there is a frost, you should cover your plants at night with a sheet.
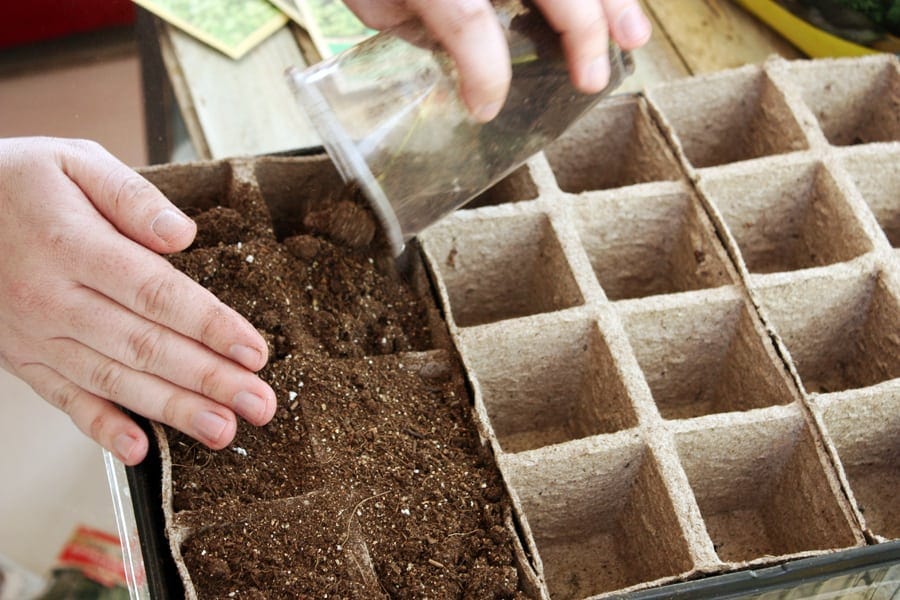
POUR DIRT INTO YOUR CONTAINER
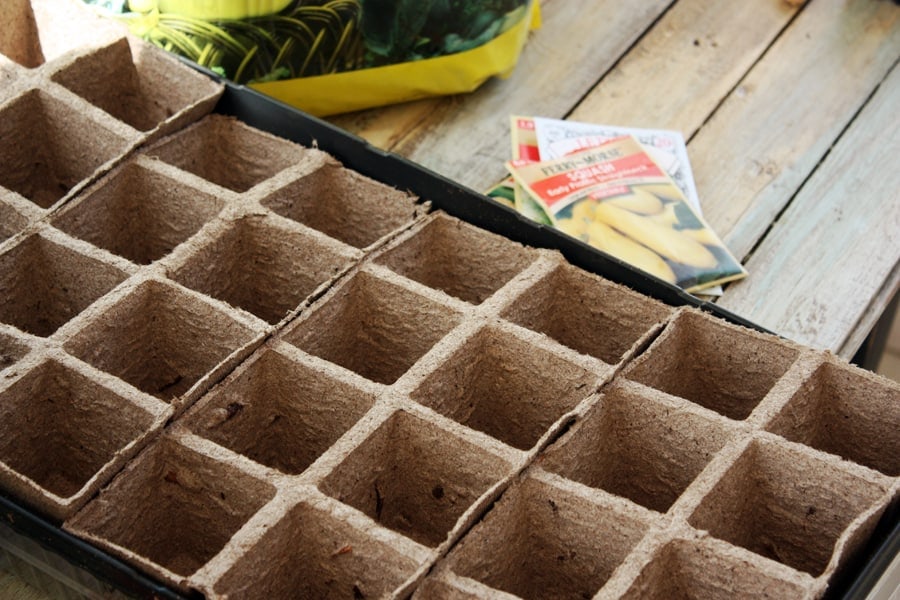
This is the messy part that we should have done outside our sun room, but I digress. We patted the dirt into the containers making sure to pay it evenly into all of the compartments. Although we bought a pre-made planter, you could easily use paper cups to do the same thing!
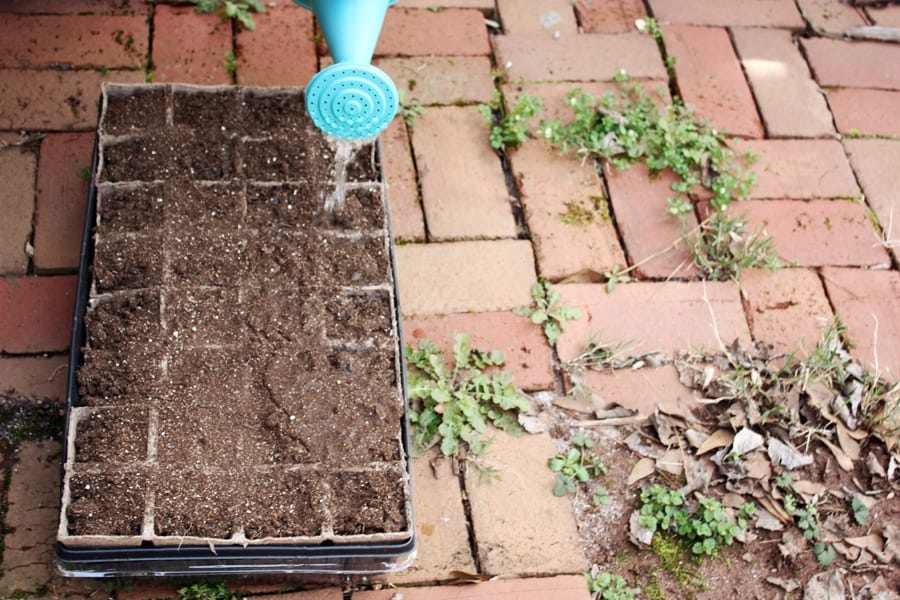
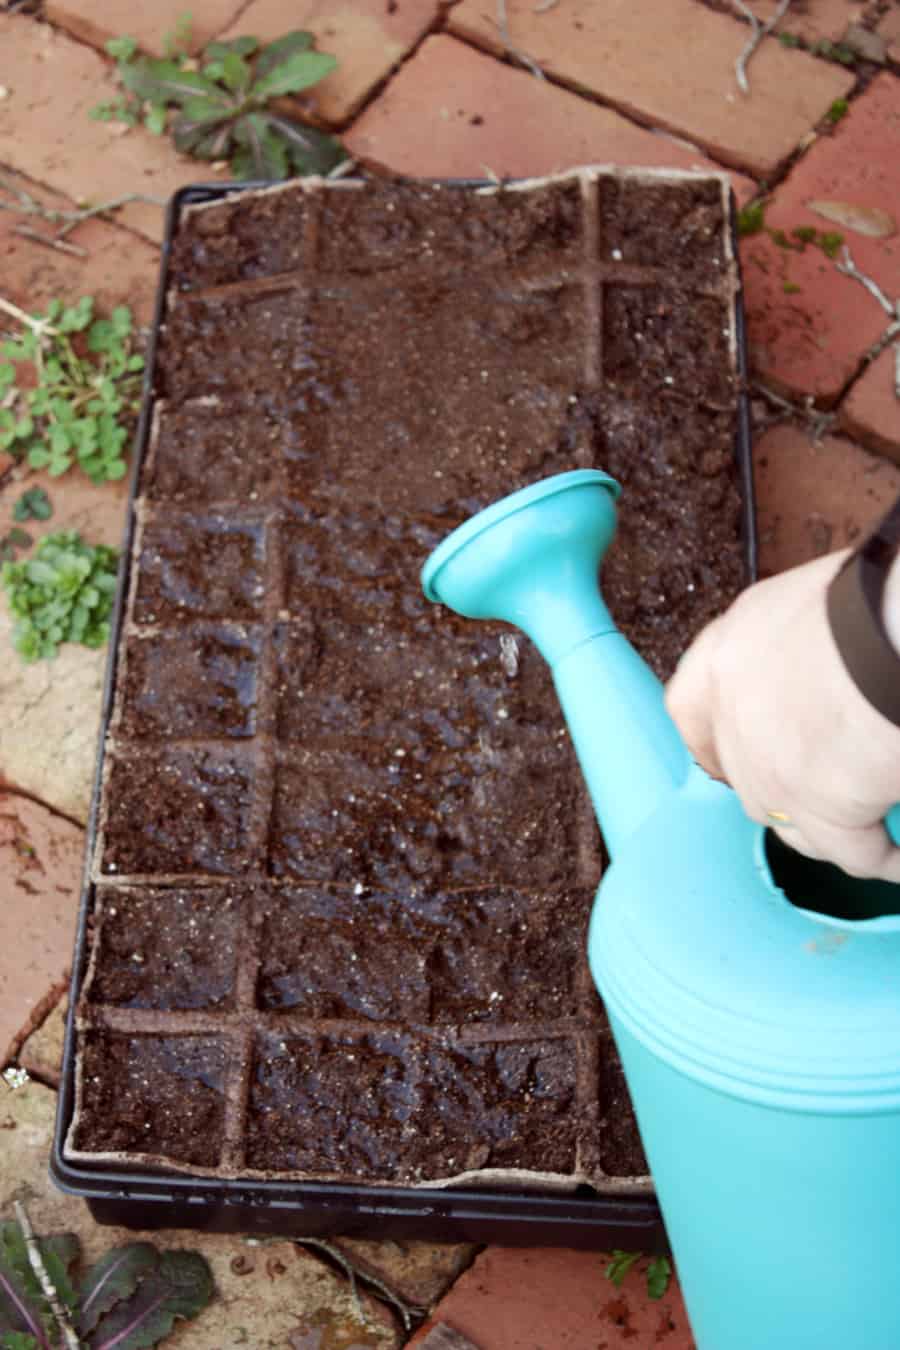
WET THE DIRT BEFORE PLACING SEEDS IN IT
Wetting the dirt before placing seeds in it is important because it makes it easier to place the seeds. Our first year, without thinking about it, we watered the dirt after the seeds; many of the seeds came up out of the dirt from the watering and it left us wondering how many things were actually still planted!
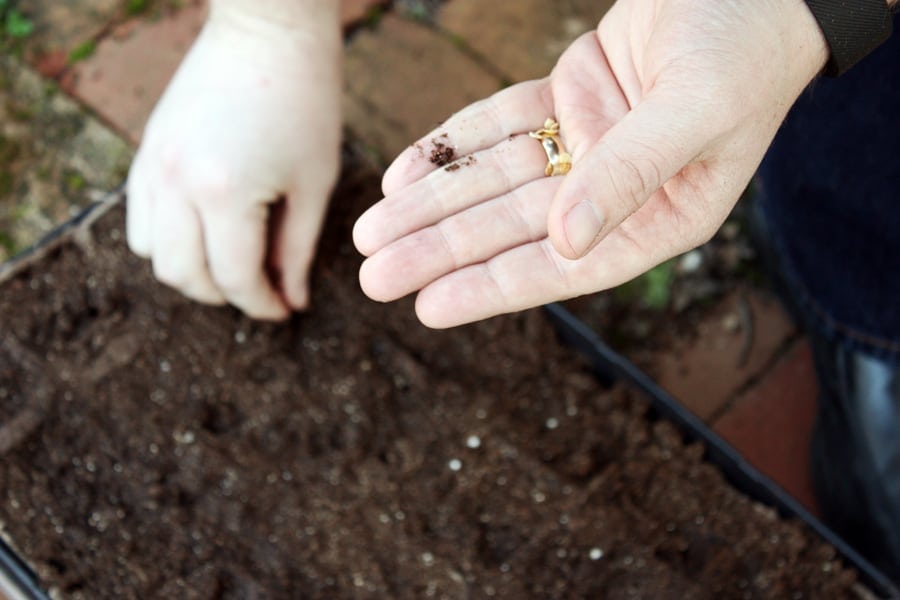
FOLLOW THE DIRECTIONS ON THE SEED PACKAGE
Some plants will have directions to plant 2 seeds, but then keep the strongest one for your garden. Other plants will have spacing requirements because they end up being very greedy in a garden bed! Some plants like to be planted deeper than others as well. Use your finger to create a hole in the dirt, place the seed amount the package states into the hole you created with your finger, and pat dirt on the top of seed.
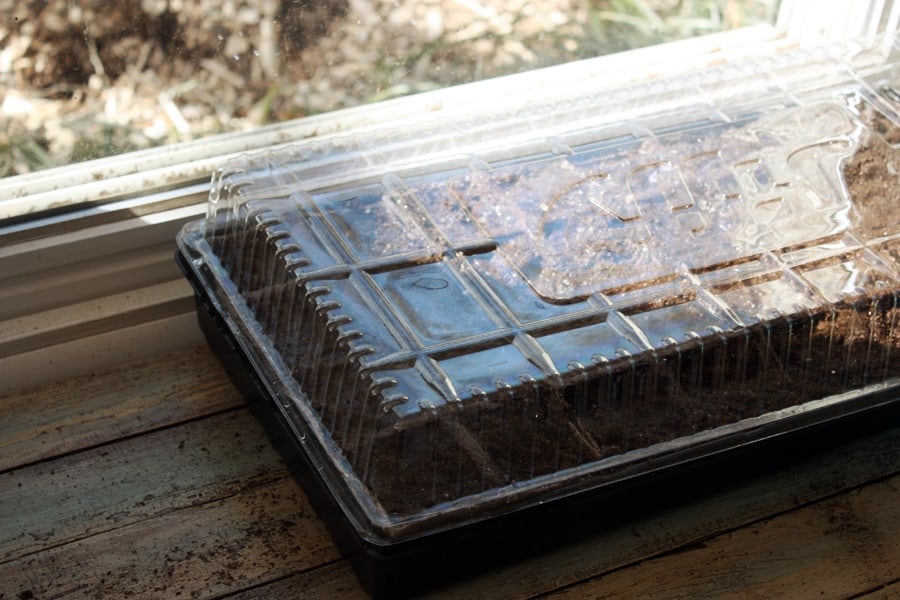
COVER YOUR CONTAINER AND PUT IT BY A SUNNY WINDOW
This is by far the most fun part because you get to see the plants start growing! If you opted to use a paper cup, you can use saran wrap on top of the cups. Watch the plants as they begin growing. Since we opt to indoor seed our plants, we rotate the dirt box every few days so that the plants grow towards the light evenly. During this time, we check for stronger plants based on the instructions of the seed packages; some seed packages require you to pick only the strongest plants for outdoor vegetable planting.
I will follow up this post soon with how to plant your first vegetable garden outside soon! I always enjoy this time of the year because I can see all of the beautiful flowers growing and because I personally think home grown vegetables always taste best!
