This post is sponsored by Monrovia, but the content and opinions and opinions expressed here are my own. This post includes affiliate links which help support Autumn All Along.
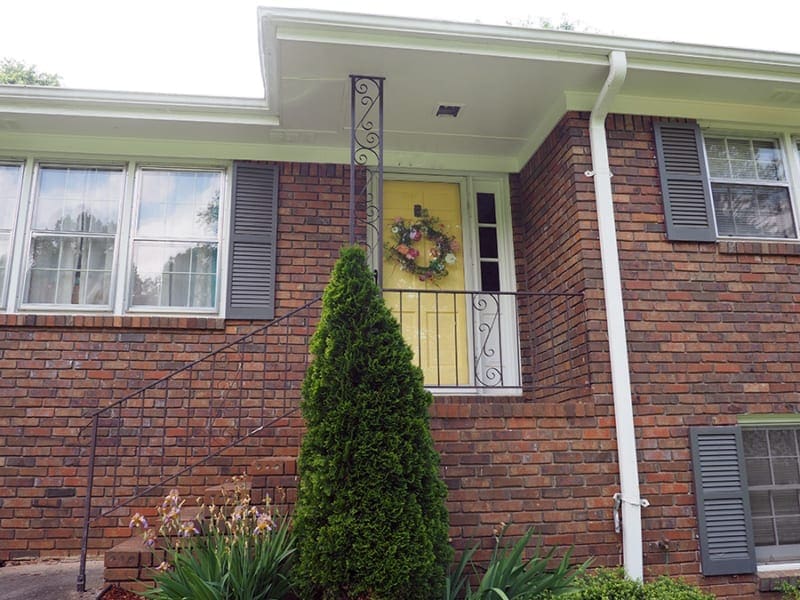
The first thing I said to my husband when we drove up to our house with the realtor was: where is the front door? The front door didn’t stand out in anyway because it was a dark gray in the shade; we remedied that quickly by repainting our front door a nice yellow color. While I loved what our front door looked like, after four years, our front porch was starting to peel and in general needed some sprucing up. After updating our mailbox, it became obvious our porch was my next project to tackle! I’m loving our small front porch makeover and it is already starting to inspire other projects for our house.
TIME NEEDED
Only 3-4 hours if you use a paint testing sample, first. I just went for it and I ended up painting the cement 3 times as well as the railings twice!
ITEMS USED IN POST
- Paint and paint roller
- Monrovia plants
- Garden pot (similar: here, here, and here)
- Putty knife set
- Foam knee board
- Stencils (similar: here)
- Wreath (same)
- Monogrammed letter (similar: here)
BEFORE
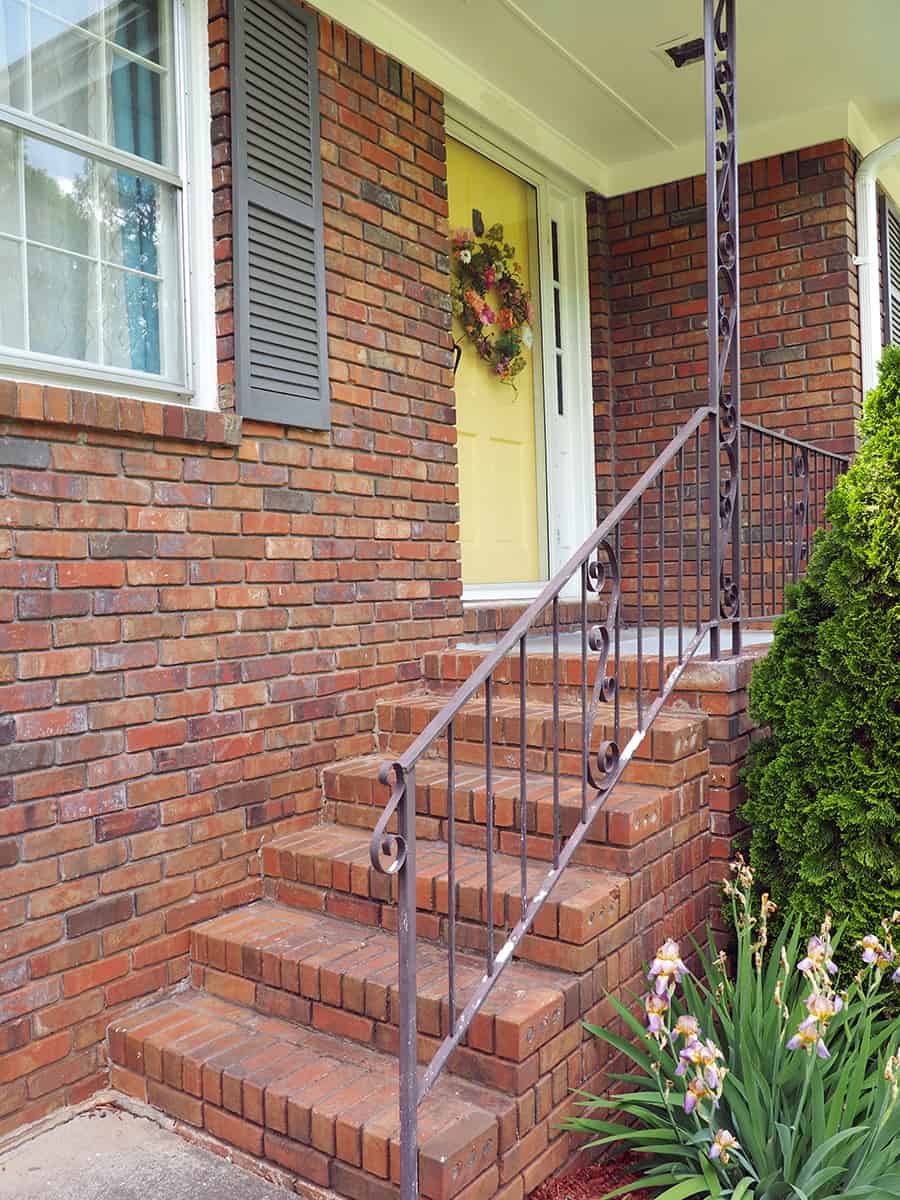
Let’s start with before photos before we get into my small front porch makeover steps! 🙂 I liked our first porch, but the railing was flaking pretty badly and the porch paint really needed to be touched up. I also felt that our porch lacked some pizzazz.
………………………………….
DEEP CLEAN
For beginners, the easiest way to make your porch look better is to deep clean it. I pulled out my broom and began ticking off some spiders around our porch and then magic erasered the threshold of our door. I was happily surprised at what a huge difference this was. After deep cleaning though, our paint began chipping more though and I knew there would be a lot more steps for me.
STRIP OLD PAINT
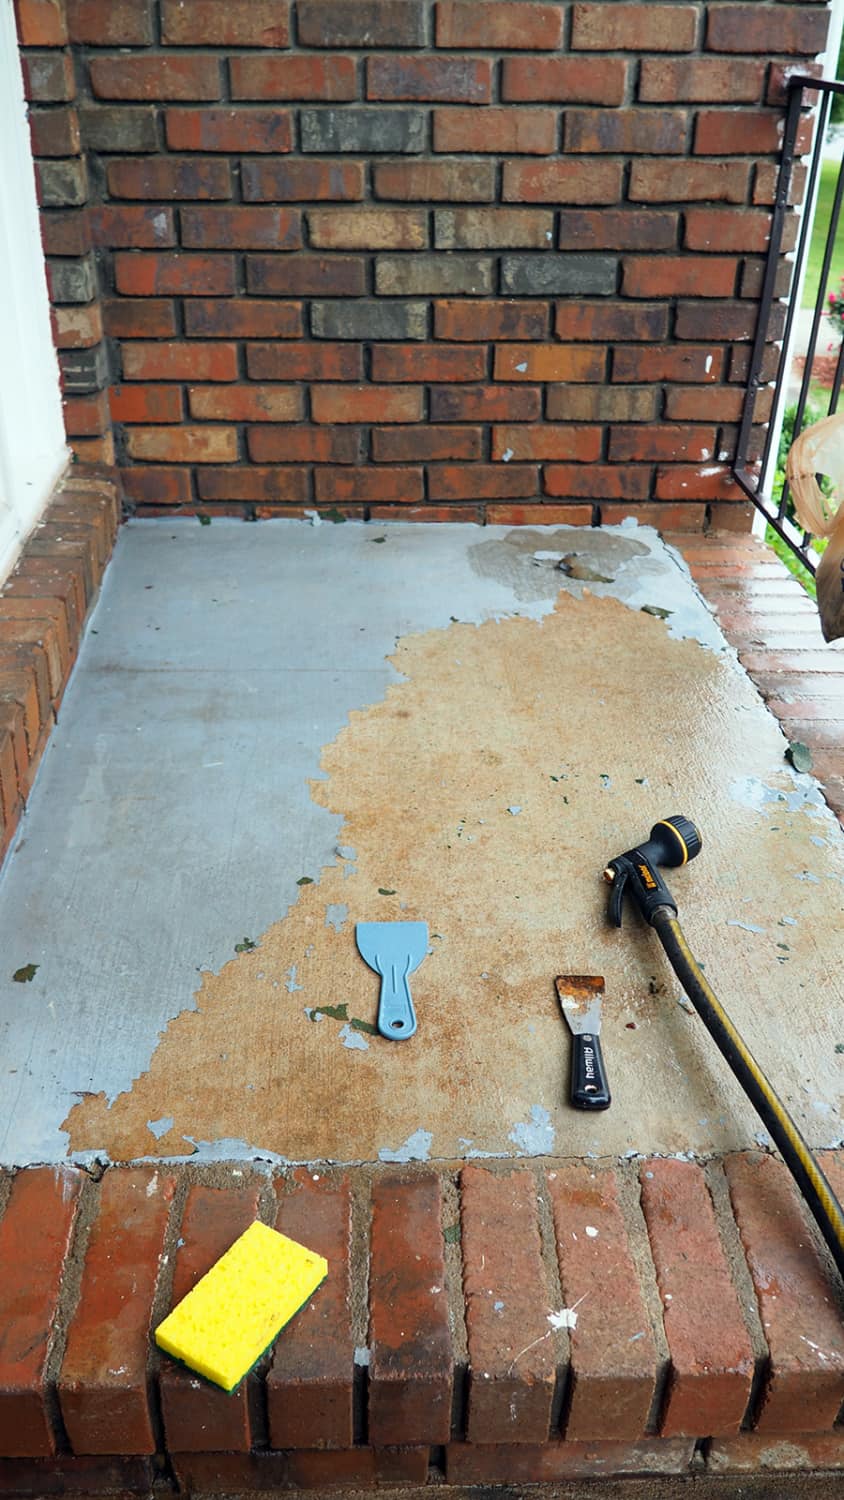
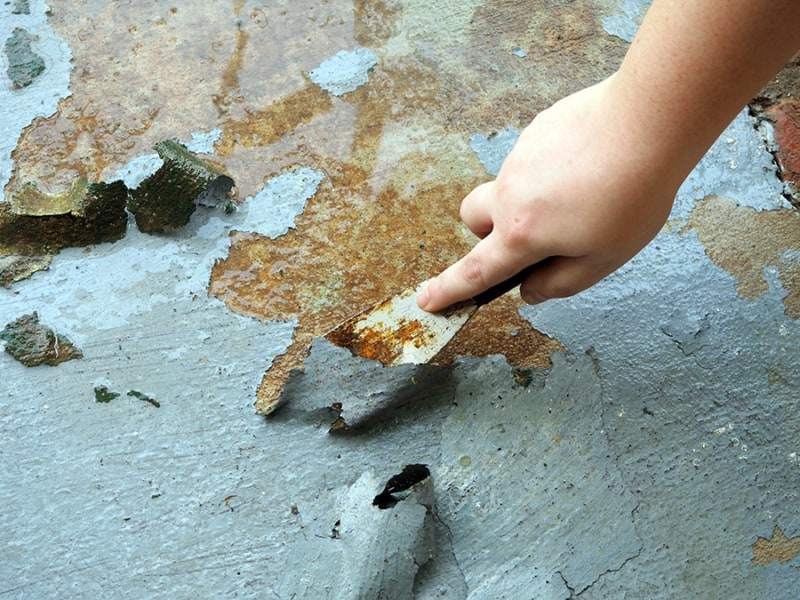
For some reason, the people before decided to use flat interior paint from our dining room/ kitchen to paint the cement (LOLWUT). Our front door is a very high traffic area so I don’t understand why interior paint was used, but it began chipping pretty badly. The previous owners also dropped paint that wasn’t the same color as the painted cement on it which just got old for me to see.
I used a metal putty knife and a higher pressure water hose to get a lot of the paint off. After a few hours, some of the paint wouldn’t budge no matter what I did. While normally I would have figured out a way to just get all of the previous paint up, I decided it wasn’t worth any more of time because it just wasn’t budging. Out of all of the steps, this was by far the longest step.
REPAINT
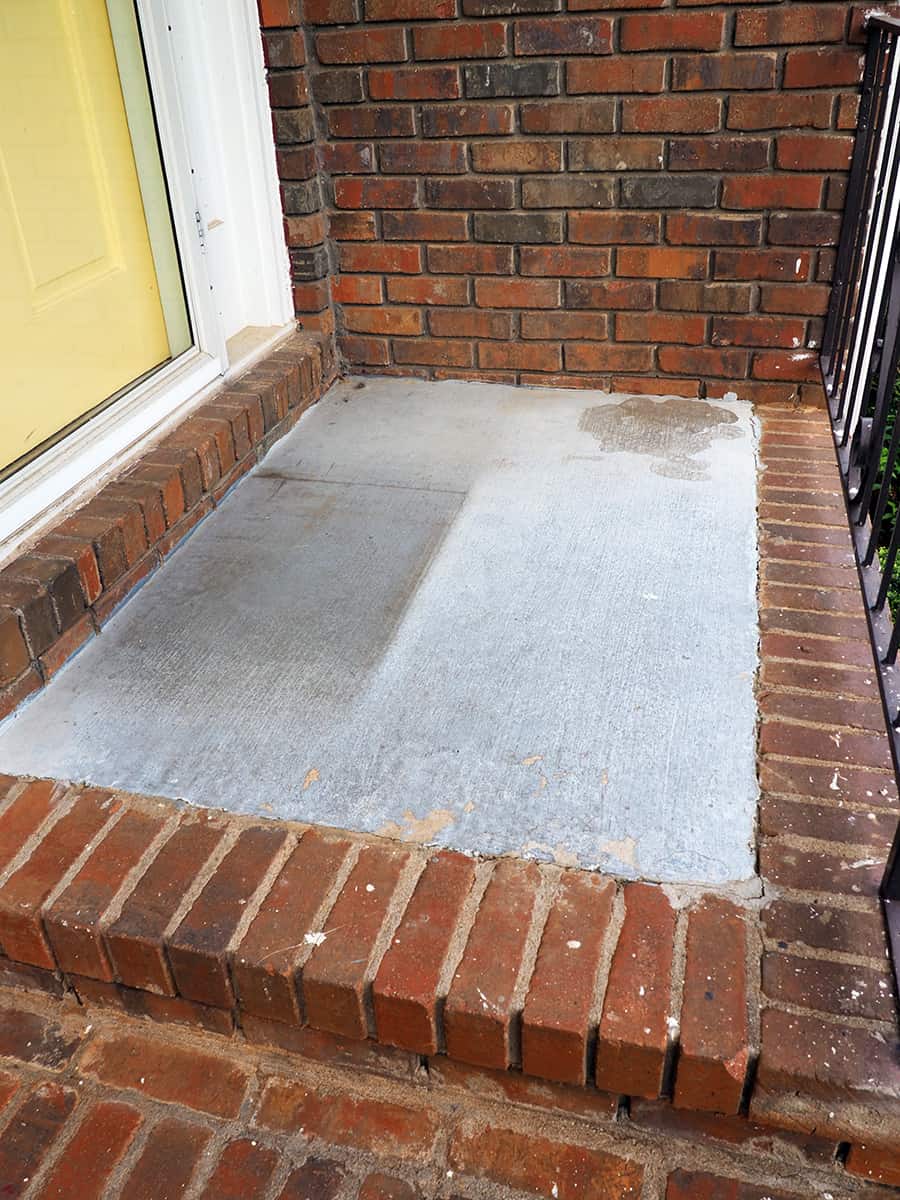
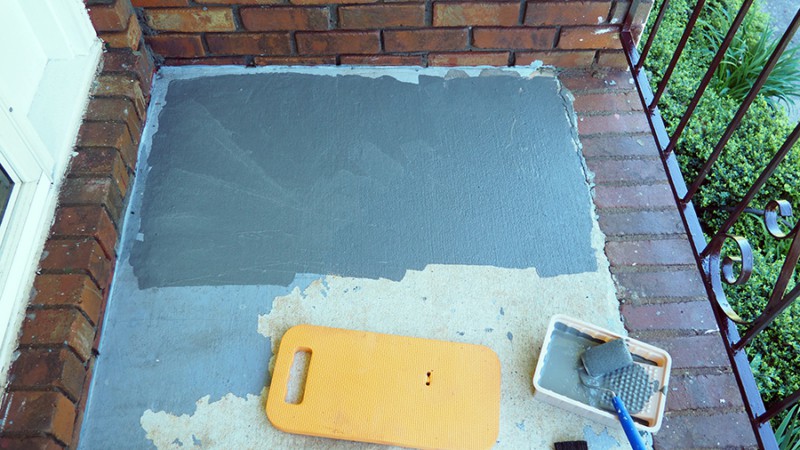
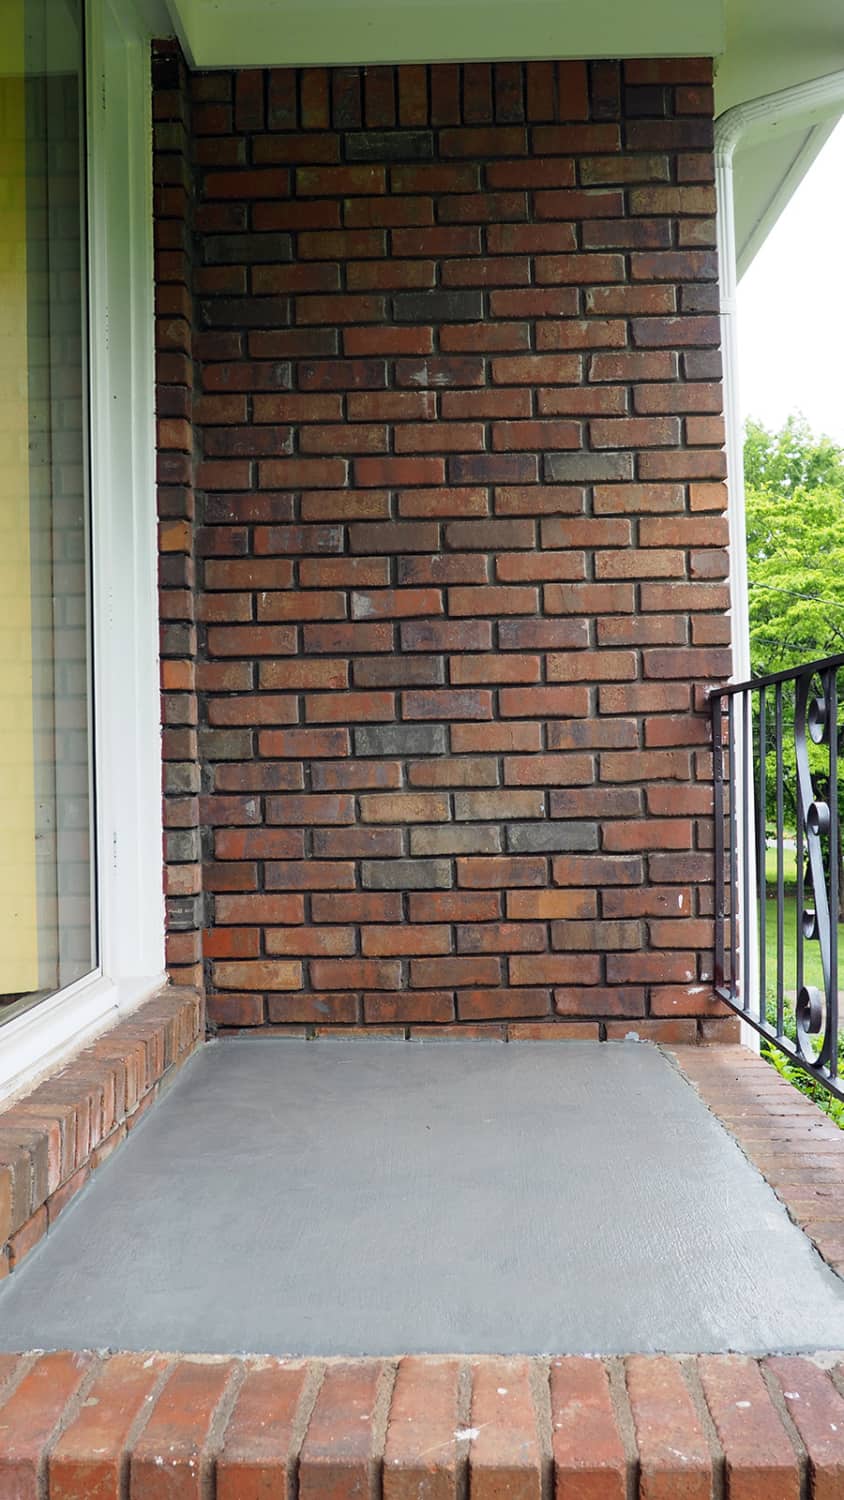
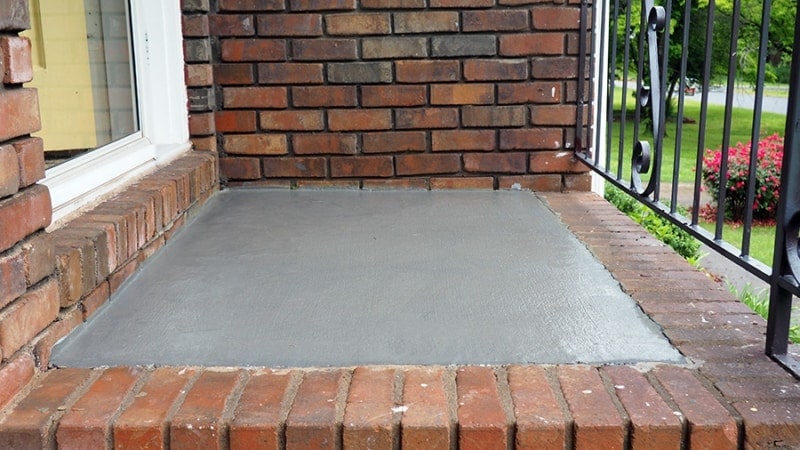
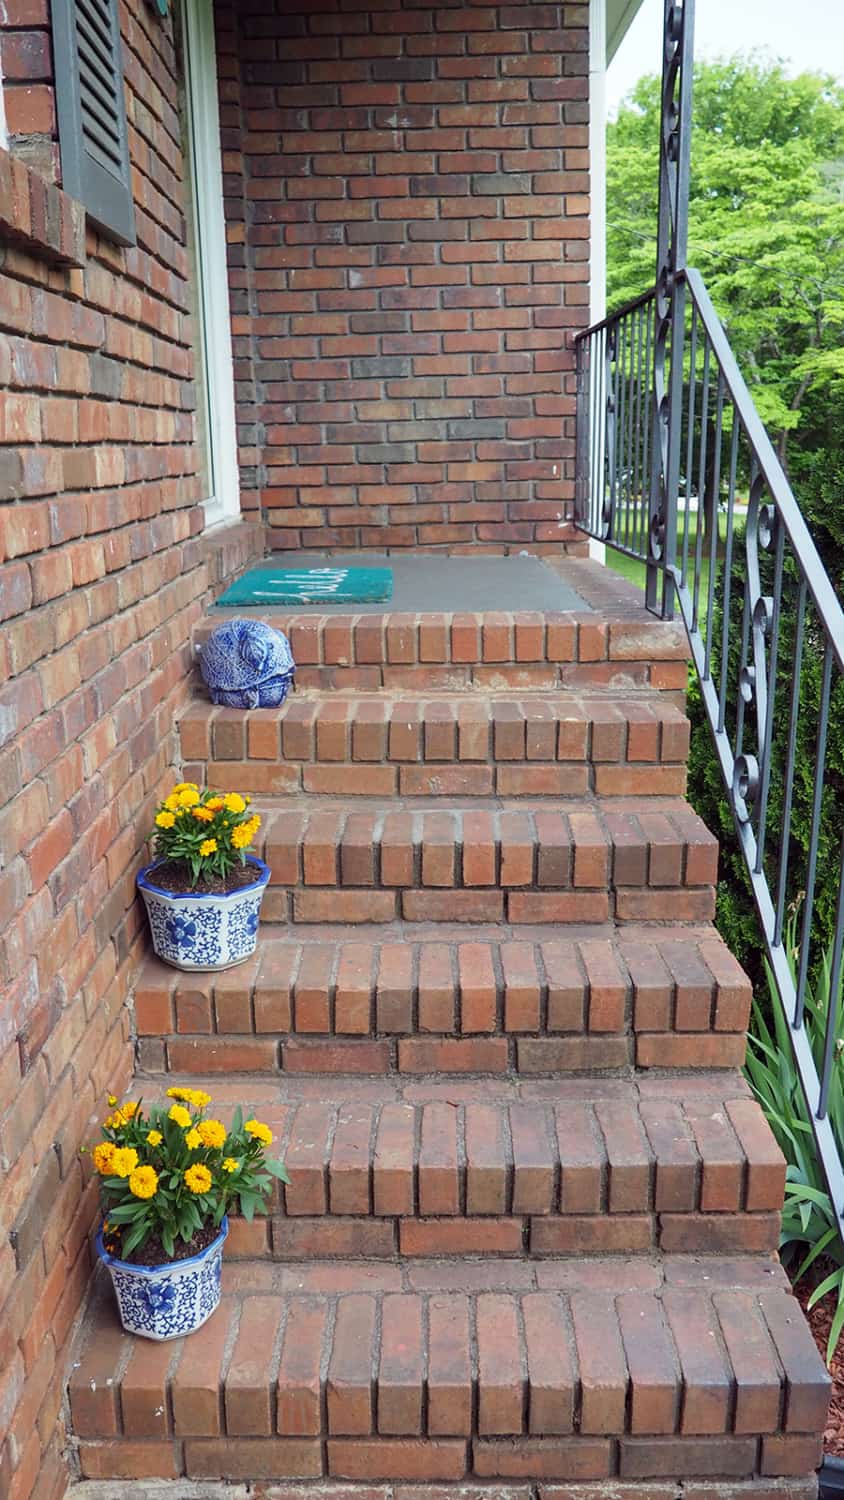
This part was so satisfying and easy. Thankfully, I was able to find some exterior paint that was used for the shutters in our garage and used that on our painted cement. I used a knee board, a small roller brush for the main portion of the painting, and I used a paint brush to get the corners closest to the bricks. Since our home is 50 years old, this cement porch area had been painted: red, green, teal, and potentially white (unless it was just used for primer). I was very careful to not touch any of the brick area with paint unless it had been painted with a color that was very obvious previously (like the light blue color from before).
I loved being able to paint the cement this dark gray color because I thought it was really complimentary against the brick and matched the shutters.
REPAINT RAILINGS
After painting our cement area, our railings looked pretty bad. I took my putty knife and a stiff wire brush and scraped any paint off of our railing that would come off. I originally decided to spray paint the railing a dark brown color to match the previous color, but the color I chose ended up having way too much red tone and ended up looking burgundy (you can see the burgundy railings in the photo above!). I ended up putting down newspapers again and spray painting our railing a dark gray- I preferred this color the best and I thought it was very flattering with our gray cement and gray shutters.
CLEAN UP YOUR PINTEREST FAILS
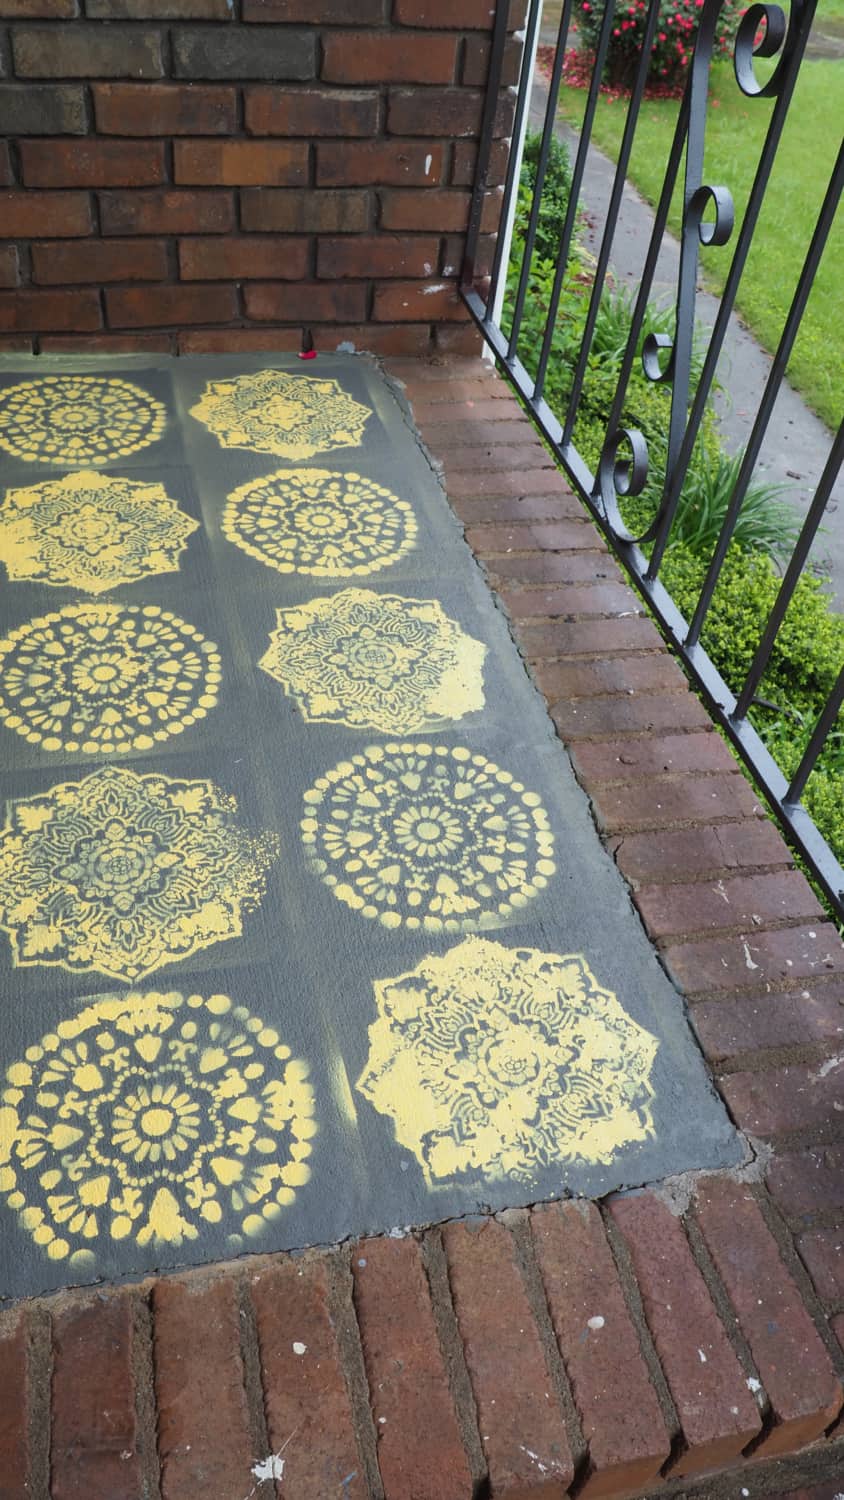
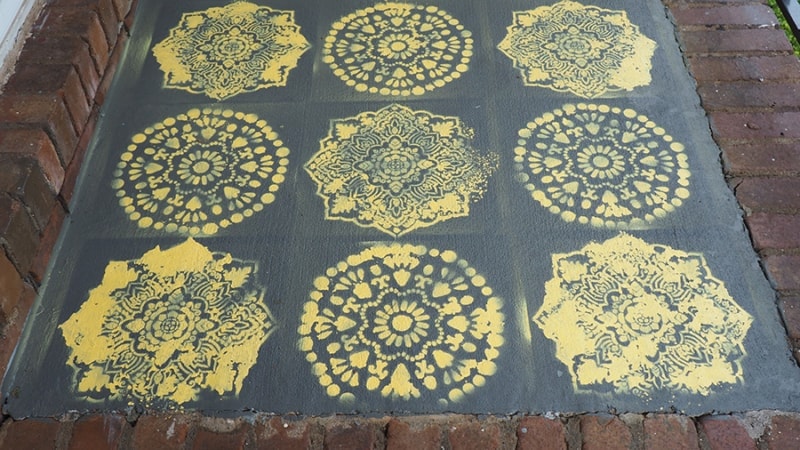
I was so proud of myself because I decided that I was going to stencil the concrete on our front porch. I figured it would be pretty easy because I’ve seen it all over Pinterest. Well, you know what? It isn’t easy and I took those silly six dollars worth of stencils and trashed them immediately after trying to use them. I don’t recommend using spray paint like I did; I thought it would be a FABULOUS TIME SAVER… which meant repainting the whole cement porch again. I feel even if I hadn’t erroneously used spray paint though, the paint would have very easily bled. It’s fine though, I think it will look better painted a solid gray anyway.
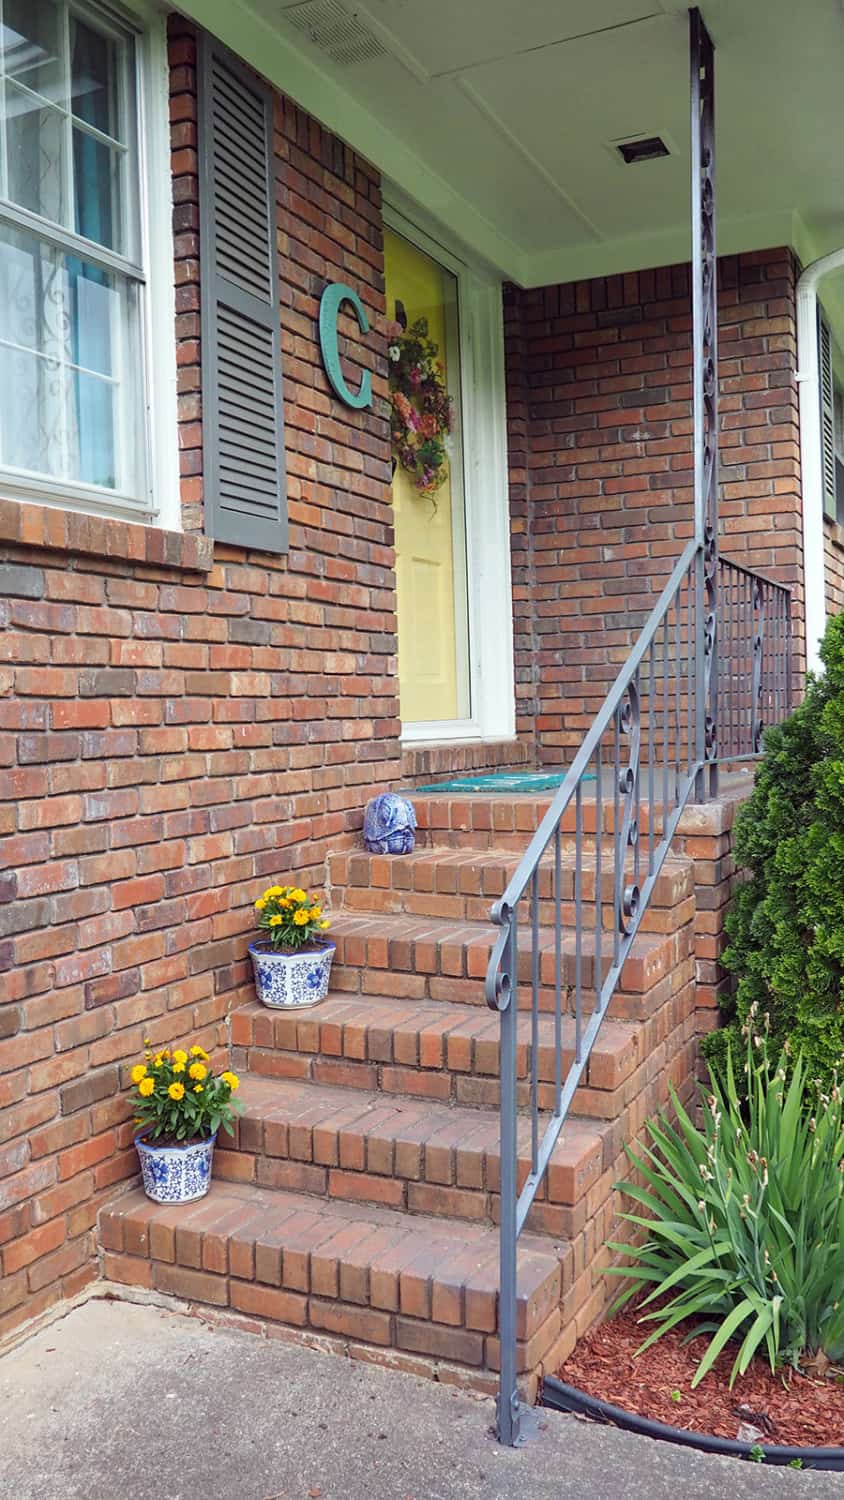
You can see that the porch railings are now a dark gray… much better! 🙂 Also, the porch looks a ton better now that everything is repainted! For every spot the previous owners got paint, I covered it up with dark gray paint (except for the top right corner is still light blue). After this post is finished up, I’m going to do some cleaning up with paint thinner.
ADD PLANTS
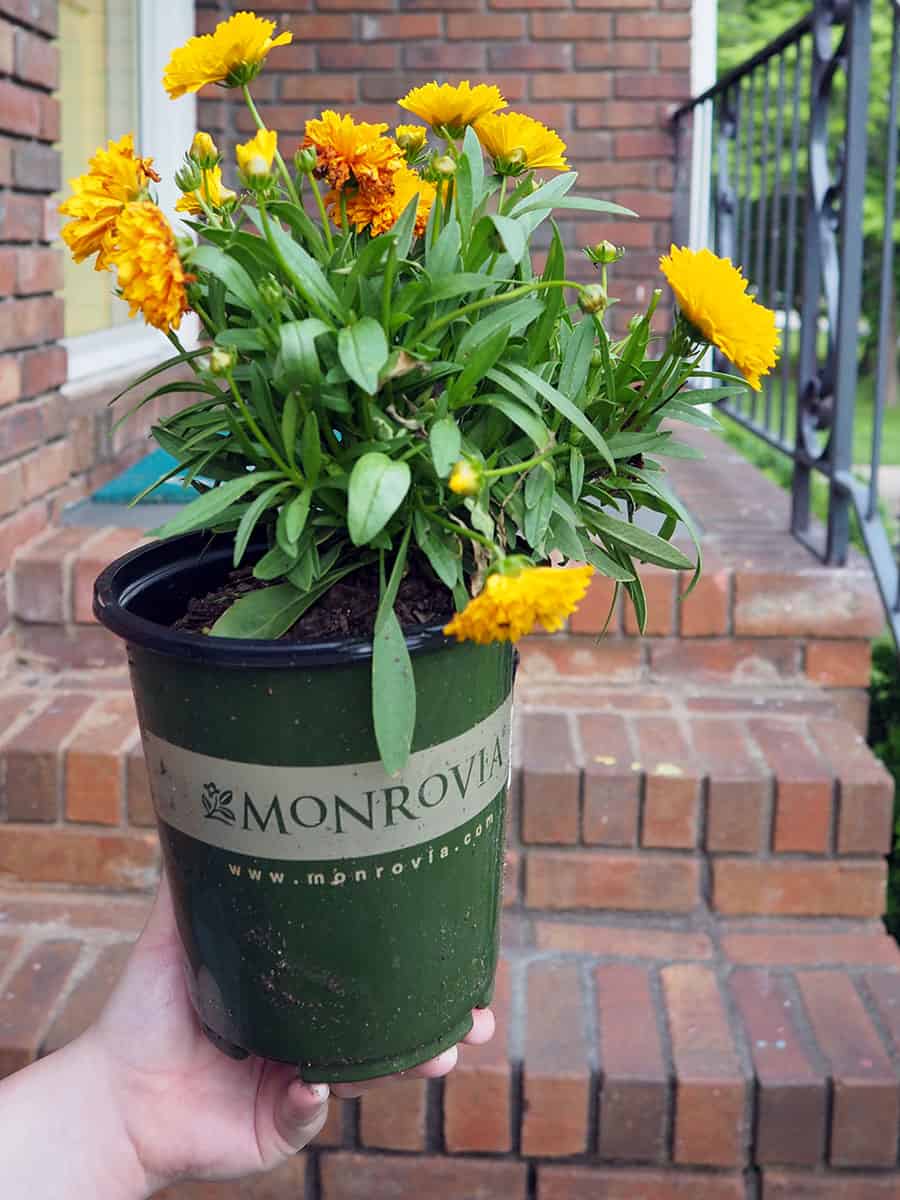
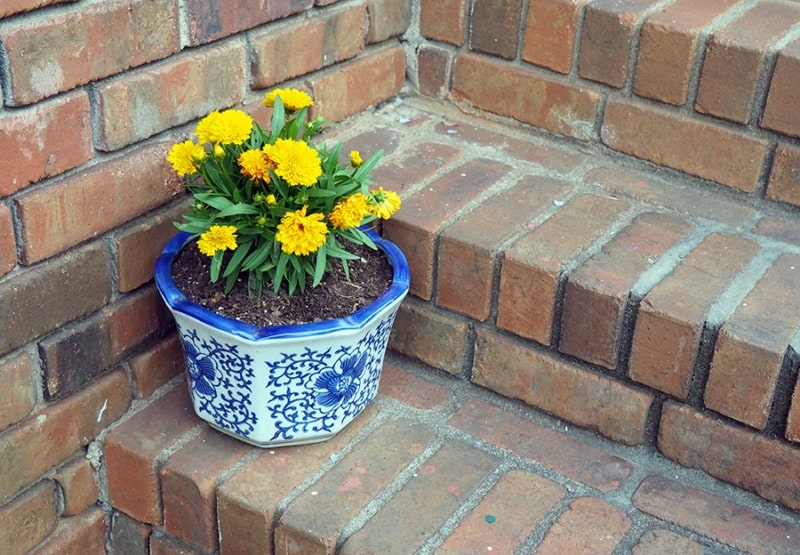
Last but not least, plants make a huge difference for this makeover. To go with the colors already present on my front door, I chose Golden Sphere Coreopsis plants from Monrovia. These Golden Sphere Coreopsis plants are perennials, meaning they will pop up every year. I also wanted plants that had a round shape since the stairs and everything on our porch is very squarish or rectangular outside of our wreath! I think it really softens the area. I went to Lowes to purchase my plants, but I like that Monrovia has free shipping. Additionally, there is detailed information on each plant (you can text for more info!) and their website gives great plant guides as well
ADD FUN DETAILS
Details are the fun part of any project and what ultimately really made this small porch makeover really pop!
- Wreath
I bought this wreath with the last of our wedding gift cards when we moved into our house three years ago. This wreath has held up so well and it is such a sweet reminder to see the love from people rooting for our marriage everytime we enter our home! - Doormat
I found this cute doormat at Target a few years ago! Teal is one of my favorite colors and I knew I had to have it 🙂 . - Monogrammed letter
I bought this letter specifically while working on this project. I felt if we had a big letter “C” for our last name that it would help eyes visually go up the stairs to our front door even more. - New exterior lighting
We didn’t have the time to re-wire our exterior lighting, but this is sure to make a huge improvement on boosting your porch curb appeal! - Pretty flower pots
While hanging baskets would be amazing for most small porch makeovers, it wasn’t a great fit for our porch. Instead, I chose pots in one of my favorite styles. I love these posts because they have more of a classic/vintage look and I enjoy that they aren’t typical round pots!
I think we can agree that our small porch makeover really made everything look a lot better! Of course, this project took me longer than I thought it would (don’t they always?), but it sure does pay off when I walk up my stairs everyday. I’d love to hear what you think about my small porch makeover.
